Thinking about selling your St. Johns home and not sure where to start? You want a plan that reduces stress, protects your bottom line, and fits your timeline. With the right steps and a clear roadmap, you can list with confidence and move forward smoothly. In this guide, you’ll get an easy step-by-step plan, local must-knows for St. Johns, and simple checklists to keep you on track. Let’s dive in.
Your 4–8 week plan at a glance
- Weeks 1–2: Strategy session, pricing review, and document gathering.
- Weeks 1–4: Optional pre-list inspection and key repairs.
- Weeks 2–4: Staging, decluttering, and photography prep.
- Week 4: Finalize pricing and marketing plan, complete disclosures.
- Launch week: Photos, MLS activation, and multi-channel marketing.
- 1–14+ days after launch: Showings and offers.
- 7–30+ days under contract: Inspections, appraisal, and financing.
- Final 1–2 weeks: Closing prep, final walkthrough, and move.
Step 1: Strategy and agent consult (1–2 weeks)
Start with a planning session and choose a responsive local agent who understands St. Johns neighborhoods, HOAs and CDDs, and the buyer pools drawn to the area. Review recent comparable sales and the latest MLS data so you know how pricing, inventory, and days on market look right now. Align on your moving timeline, preferred closing window, and any must-haves like rent-back or a minimum net number.
Use this time to assemble your property records. Having these ready speeds up disclosures and reduces delays once you go under contract.
Documents to gather now
- Deed and mortgage payoff information
- Recent property tax bill and utility bills
- HOA or CDD contact details, covenants, bylaws, and recent dues statements
- Any permits and final inspection records for renovations
- Recent survey, if available
- Warranties and receipts for major systems or upgrades
- Flood-related items if applicable, such as an elevation certificate and current insurance details
Step 2: Pre-list inspection and repairs (1–4 weeks)
A pre-list home inspection is optional, but it can help you spot issues before buyers do. In Florida, buyers often ask for a wood-destroying organism report, so consider a WDO inspection to reduce surprises. If you find issues, focus on safety and function first. Roof leaks, HVAC problems, and major electrical items should take priority over cosmetics.
Get written estimates so you can decide whether to repair now or offer a repair credit at closing. Clear documentation gives buyers confidence and can streamline negotiations.
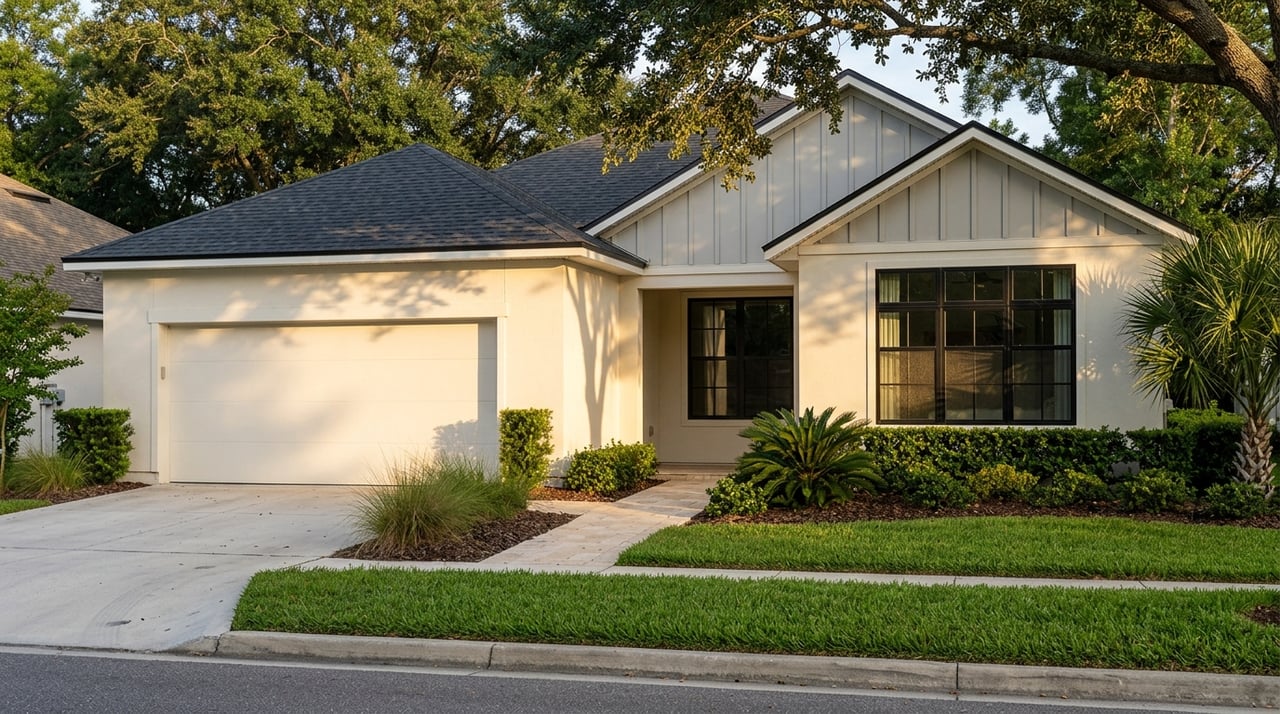
Step 3: Stage, declutter, and photo prep (1–3 weeks)
Create a clean, neutral backdrop that helps buyers picture their life in your home. Declutter, pack personal items, and deep clean. Small updates like paint touch-ups, fresh caulk, and updated bulbs can make rooms feel brighter and more cared for.
Professional staging is worth considering for vacant homes or higher-priced listings. For lived-in homes, an agent-guided checklist is often enough to highlight space and flow. As photography day approaches, open blinds, remove cars from the driveway, and tidy outdoor areas.
Photo day checklist
- Windows cleaned, lights on, and blinds adjusted
- Counters cleared, beds made, and towels neatly hung
- Driveway clear, trash bins hidden, and pet items stored
- Yard, entry, and patio swept and styled
Step 4: Price with precision (about 1 week)
Price is a strategy, not just a number. Start with recent local comparables from your neighborhood and adjust for condition, size, and key features like a pool, water view, or recent renovations. Factor in current momentum. If the market is moving fast, a competitive price can attract more buyers quickly. If it is slower, consider an initial price that builds interest or plan for early incentives.
Ask your agent for an estimated net sheet that models your likely proceeds after typical costs. This helps you make decisions on repairs, credits, and timing with a clear picture of your bottom line.
Negotiation levers to consider
- Closing date flexibility or a short rent-back
- Repair credits instead of completing work before closing
- Inclusion or exclusion of appliances and window treatments
- Earnest money amount and buyer financing strength
Step 5: Launch and market smart
Once your home is photo-ready, move quickly to capture buyer attention. Professional photography is essential. Consider 3D virtual tours, floor plans, and drone images if the lot, water views, or community amenities warrant them. Accurate room measurements and clear captions reduce confusion and boost qualified showings.
Your MLS listing should highlight the features buyers look for in St. Johns, including amenity access, commuting options to Jacksonville job centers, nearby parks and trails, and proximity to beaches. Make sure HOA and CDD details are accurate. Your agent can distribute the listing across major channels, leverage social media and email campaigns, and schedule open houses when appropriate.
Step 6: Showings and offers
More access means more buyers. Set showing windows that work for you, but stay as flexible as possible for the first two weeks. Leave during showings, secure or remove pets, and store valuables and personal paperwork out of sight. Keep the home showing-ready with a quick daily routine.
When offers arrive, look beyond the price. Review closing timeline, contingencies, earnest money, and buyer financing. A strong preapproval or proof of funds can help reduce risk. Your agent can help you compare offers side by side and negotiate for the terms that matter most to you.
Step 7: Inspections, appraisal, and financing
Most contracts include an inspection contingency, an appraisal contingency for financed buyers, and a financing contingency. Expect buyers to request repairs or credits based on inspection findings. Focus on health, safety, and major systems when deciding how to respond.
If the appraisal comes in low, common options include renegotiating the price, a buyer covering the gap with additional cash, or a seller credit. Your path depends on your contract terms and the buyer’s loan. Stay responsive so timelines are met.
This is also when documents move fast. Ensure the title company and buyer receive what they need, including HOA or CDD estoppel information and any required disclosures, within the contract deadlines.
Step 8: Close smoothly
As you approach closing, confirm your moving plan, utility transfer dates, and any yard or pool service that must continue through closing. Gather keys, garage remotes, gate fobs, and alarm codes for the buyer. Buyers typically perform a final walkthrough within 24 to 48 hours of closing to confirm the home’s condition.
On closing day, you will sign the deed and closing statements. The title company or closing attorney handles documentary stamp taxes, recording, lender payoffs, and disbursing your proceeds after recording.
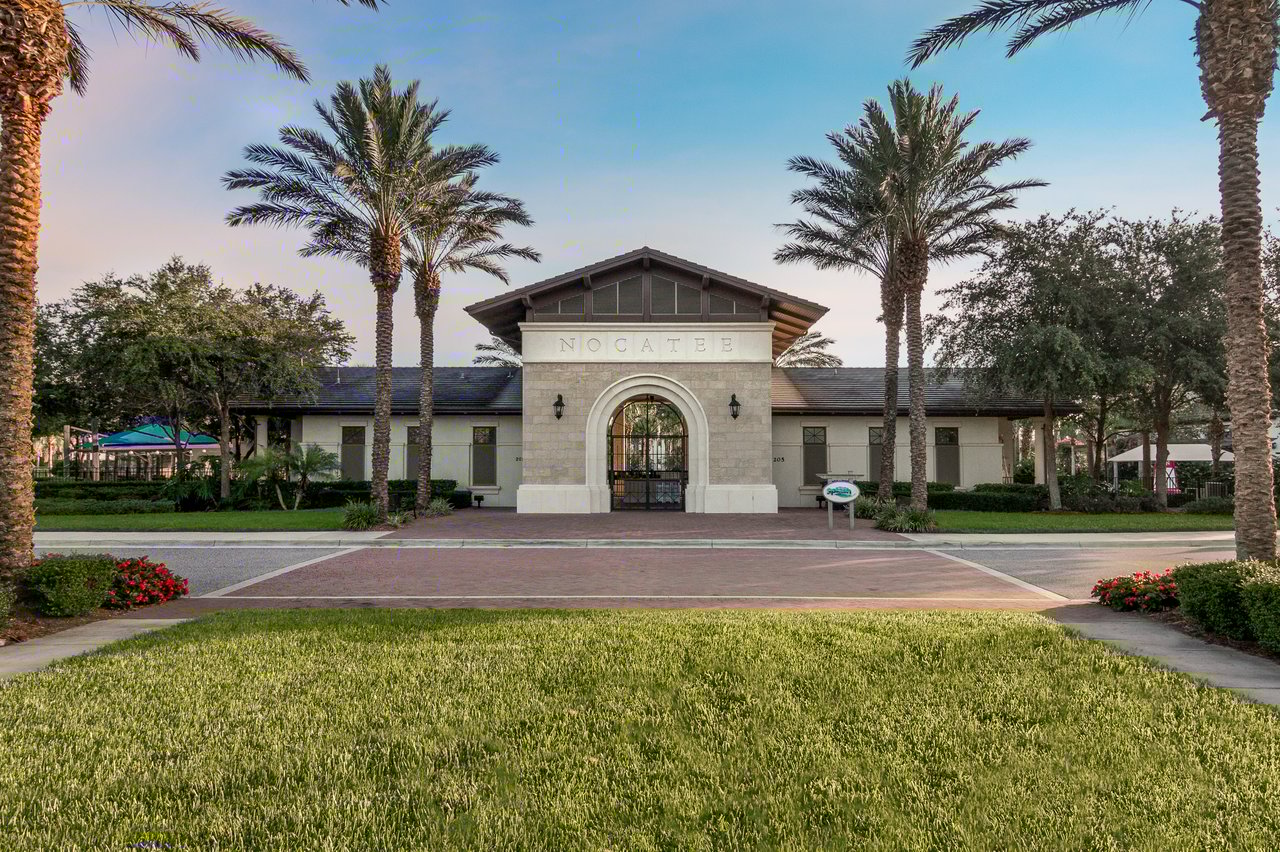
Local must-knows for St. Johns sellers
Selling in St. Johns comes with a few local details that can affect timing and paperwork. Plan for these early to avoid delays.
- HOA and CDD documents. Many neighborhoods have an HOA or CDD. Be ready to provide covenants, bylaws, recent dues statements, and request the estoppel letter through the association or management company when your contract requires it.
- Flood zones and insurance. Parts of St. Johns County fall within FEMA flood zones. Know your property’s status, whether you have an elevation certificate, and the current flood insurance details. Buyers and lenders often ask for this information.
- Permits and code compliance. If you completed renovations, keep permit numbers and final inspection records handy. Title companies and buyers often request them.
- Termite and WDO considerations. Florida is termite-prone. Many buyers request WDO inspections or repairs. A pre-list WDO inspection can help surface issues early.
- New construction resale. If you are selling a newer home, gather builder warranties, the certificate of occupancy, and any transfer paperwork for warranties or recent upgrades.
If you are unsure what is required or who pays for specific items, your agent and the title company or closing attorney can clarify the local norms for your situation.
What it costs to sell
Plan your budget using a simple framework. Exact amounts depend on your sale price and contract terms, but these are the common items.
- Agent commissions. Often cited national ranges are about 5–6 percent of the sale price, typically split between listing and buyer agents. Confirm current local practices.
- Title, escrow, and recording fees. Vary by county and title company.
- Documentary stamp taxes. Florida charges documentary stamp taxes on deeds. The title company will provide the exact figure and customary payor for your contract.
- Prorations and adjustments. Property taxes, HOA or CDD dues, and utilities are typically prorated at closing.
- Preparation and presentation. Any repairs, optional pre-list inspections, professional photos, staging, and a possible home warranty if you choose to offer one.
Ask for a net proceeds estimate early, then refresh it once you receive offers so you know exactly where you stand.
Quick checklists to stay on track
Pre-list prep
- Choose a local, responsive listing agent
- Review comps, pricing strategy, and timing
- Gather deed, tax bill, HOA/CDD info, permits, warranties, survey
- Confirm flood zone status and any elevation certificate
- Decide on pre-list inspection and WDO inspection
- Approve repair scope and estimates
Photo and launch week
- Deep clean and declutter
- Final touch-ups and lawn care
- Stage key rooms or follow agent checklist n- Schedule professional photos, floor plan, 3D tour, and drone if needed
- Complete seller disclosures and order HOA packet items
- Set showing rules and open house plan
Week before closing
- Confirm movers and utility transfer dates
- Complete agreed repairs and provide receipts
- Set aside keys, remotes, gate fobs, and codes
- Keep home clean for the final walkthrough
- Coordinate signing with the title company
Ready to list with confidence?
You do not have to guess your way through this. With a clear plan, polished marketing, and fast communication, you can sell on your schedule and protect your outcome. If you are thinking about selling in St. Johns, the Sarah Schwartz Group will walk you through each step, create standout digital marketing, and keep you informed every day. You deserve an easy button — Get your Free Home Valuation.
FAQs
How long should I prepare before listing my St. Johns home?
- Plan for 2–6 weeks to handle strategy, light repairs, staging, and document gathering. Longer timelines help if major repairs are needed.
Should I get a pre-listing inspection for a St. Johns home?
- It is optional. Pre-list inspections can surface issues early and reduce renegotiations, but you should be ready to address any findings up front.
Which repairs matter most before selling in Northeast Florida?
- Prioritize safety and function first, such as roof leaks, major electrical issues, HVAC problems, and active plumbing leaks. Tackle cosmetic items next if budget allows.
How flexible should showings be when my home is on the market?
- More access usually equals more buyers. Aim for broad weekday and weekend availability, but set reasonable limits that fit your schedule.
What happens if the appraisal comes in low on my Florida sale?
- Common options include renegotiating price, the buyer adding cash to cover the gap, a seller credit, or the buyer canceling based on contract terms and lender rules.